
Get going with some paint strokes in Photoshop! I created a design like this for the AudioJungle Contest. The design was a lot of fun to do, and I thought you would enjoy learning how it was created. Some of the tools used in this tutorial are: Brush Engine, Paint Brush, Pen Tool, Layer Masks, Layer Styles, and more.
Final Image Preview
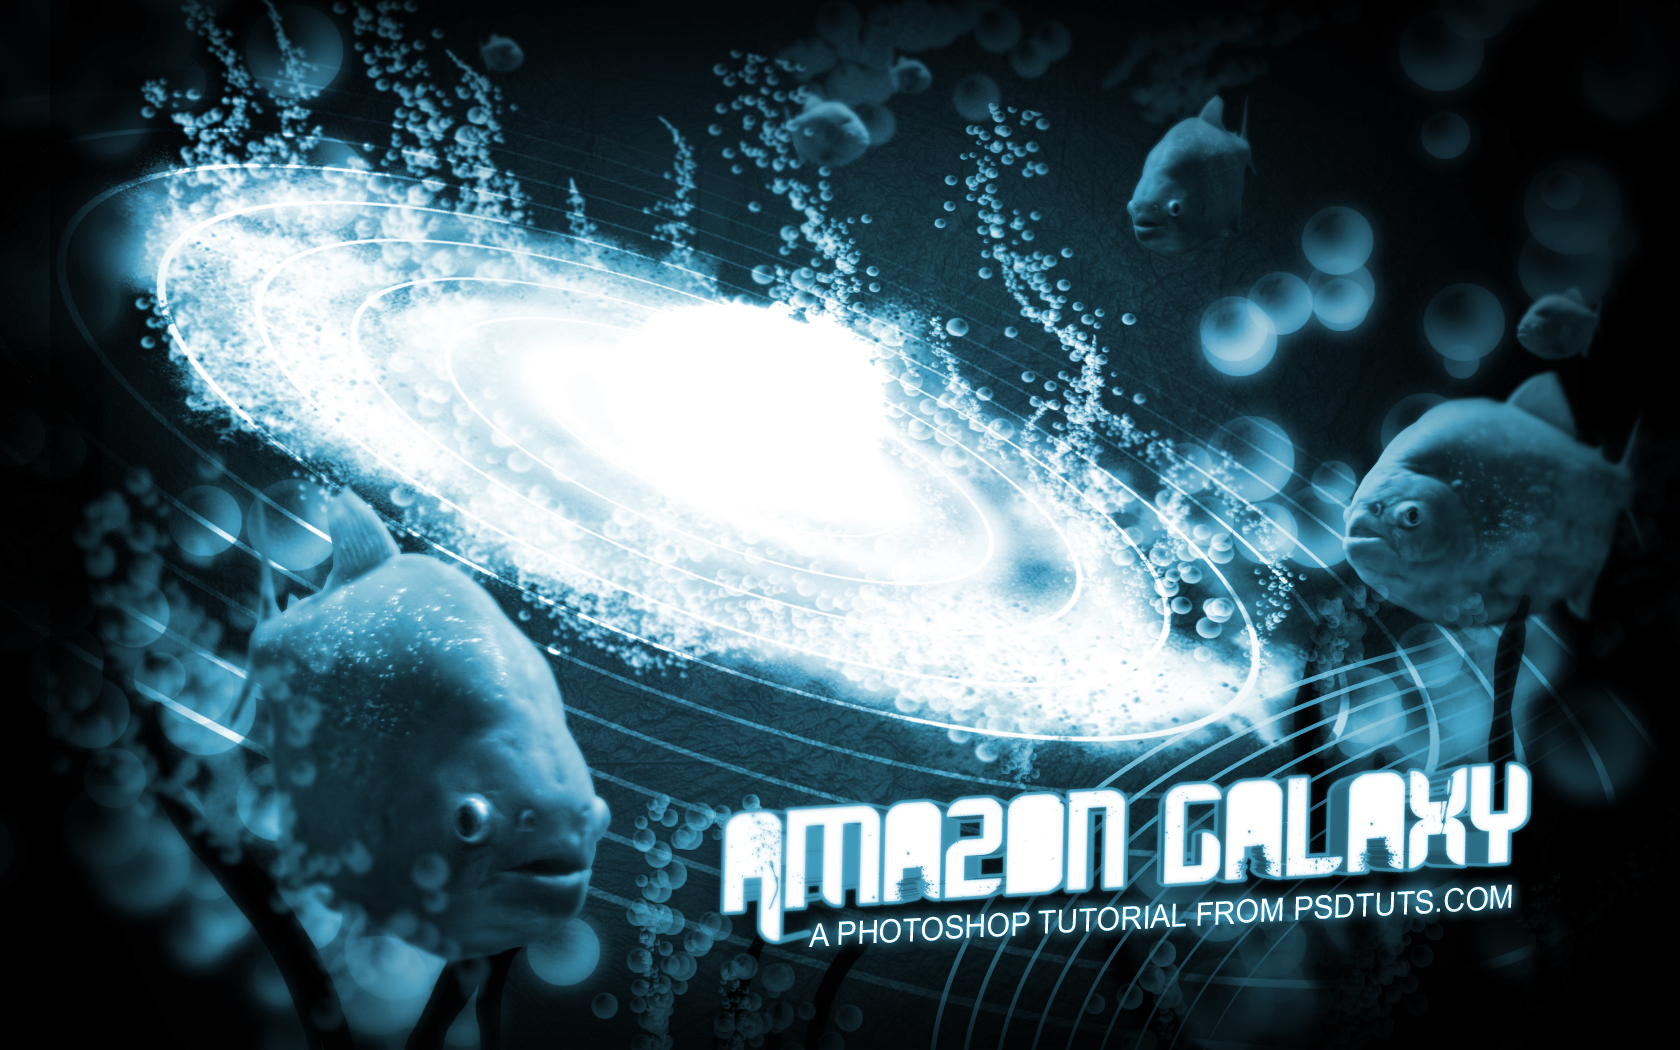
First, let's take a look at the image we'll be creating. Click the screenshot below to view the full-size image. As always, the layered Photoshop file is available via our Psdtuts+ Plus membership.
Preliminary Tip
This is a quick tip that will help you with navigating your layers. This will help a lot in all of your projects in the future. Instead of scrolling through all of your layers in the layer dialog box, try the following tips instead.
With the Move-Tool (V) selected, hold your mouse over the layer you want to select. Then press Ctrl + Right-click. This will bring up a drop-down menu where you can select all the layers that are located under your cursor. Then select the layer you want to work with.
If you don't name your layers you can guess and then move it around with the mouse to see if you got the right one (naming your layers is a better practice). Press Ctrl+Alt+Z to step backwards until you've found it, and move it back where you had it originally.

Step 1
Create your document 1680 pixels by 1050 pixels at 300 dpi. This will be good for a widescreen monitor desktop and give you a good amount of pixels to work with detail. You can make it bigger or smaller depending on your screens resolution. After this, fill your background layer with black. Then, on a new layer, drag a white radial gradient into the center of the document. Set the opacity to 50%.

Step 2
Create a new layer. Then with a huge feathered brush paint a big circle in the center of your gradient.


Step 3
Select Filter > Distort > Twirl, and set it to -200. Hit Ctrl+F until you get the desired degree of spiral.


Step 4
Right-click on your layer, and select Free Transform. Then while holding Ctrl+Shift+Alt, drag the bottom left outside corner out as I did to give it a skew. Also, rotate it a little to make it a bit more random.


Step 5
Now for creating some surfacing air bubbles! Let’s make a quick paint brush to do this. Create a new document 300 pixels by 300 pixels at 300 dpi. Draw a circle with the Elliptical Marque Tool, while holding Shift to keep it proportional.


Step 6
Drag a Radial Gradient from the top left of the circle to the bottom outside right of the circle.


Step 7
Paint a highlight at the top left of the bubble. Use a small feathered white brush for this.


Step 8
Marquee around the bubble you drew and go to Edit > Define Brush Preset.
Step 9
Now open up your Brush Engine by clicking on the Brush Engine Icon. You’ll see your new Bubble Brush at the bottom! Select it and we'll change some of the dynamics.


Step 10
Turn Shape Dynamics On and set Size Jitter 100%, Minimum Diameter 34%, and set the rest to 0% to avoid squishy bubbles.


Step 11
This is really important. Turn Scattering On and play around with the settings until you get your desired flow and scatter of bubbles. If you don’t know what you want, emulate the image below. Another option is to turn on Other Dynamics in order to set the Pen Pressure to vary the Opacity Flow (Some of this depends on if you have a Wacom tablet or not).
When you get the flow you want, press Create New Brush and the brush engine will play this bubble brush in your presets. The Create New Brush button is located beside the trash can at the bottom right of your brush engine box.


Step 12
Now that we have the Scattered Bubble Brush we need a watery Foam Spray Brush as well. So go find a photo of water foaming as it hits the shore of a beach. I used this photo because of the contrast between the spray and the blue.
Select some of the white foam spray with the Square Marquee Tool. Copy the area you selected and create a new document. Then paste your copied selection into your new document.


Step 13
Now that we have the scattered bubble brush we need a watery Foam Spray Brush. So go find a photo of water foaming as it hits the shore of a beach or something. I used this photo because of the contrast between the spray and the blue.
Select some of the white foam spray with the Square Marquee Tool. Copy the area you selected and create a new document. Paste your copied selection into your new document.
Once you have your image selection in your new document press Ctrl+I to invert the white to black. Then press Ctrl+L, and move the right slider to the right to increase the contrast between the white and black.


Step 14
Paint around the edges of the splatter with a white feather brush.


Step 15
Copy the foam spray four times and make it into a full circle. You’ll have to do this after increasing the canvas size of the document (Image > Canvas Size).


Step 16
Merge the layers after you have a good result. Then select around the splatter, and create a new brush with this (Refer to step 8). Then open the Brush Engine again, and apply the same effects as you did to the bubbles (Refer to steps 9 and 10, skip the scattering though).
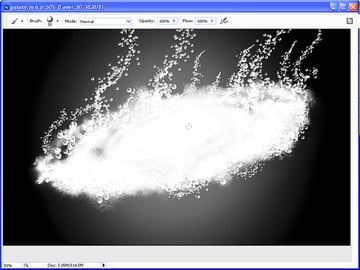
Now we paint. There are three different techniques to do this. You can use any of them for painting.
- Create a new layer. If you have a Wacom tablet, apply less pressure behind the spiral and more in the front.
- If you don’t have a Wacom Tablet, you can manually change the brush sizes as you paint around the spiral. Press the Left Bracket Key to lower brush size and press the Right Bracket Key to increase brush size, as in the image below.
- Use the pen tool to draw a path around the galaxy then stroke it with the Stimulate Pressure Enabled. Make sure when you do this you have your new foam spray brush active. Again, you can refer to the tutorial taught by Collis in his Advance Glow Effects tutorial.
Create another new layer. Make sure when you do this you have your new Foam Spray brush Active and brush on the right as well, as shown below.


Step 17
Create a new layer, grab the Bubble Brush, and use the same techniques to paint the bubbles. Stroke the Pen Path, or paint it manually.


Step 18
Create a new layer, increase the brush size, paint some of the bubbles in the foreground. Convert the foreground bubbles layer into a Smart Object, and apply a Gaussian blur. You can then use a large Feather Brush, with black set at 60% Opacity, and paint the inner edges of the columns of the bubbles to imitate a difference in focus.


Step 19
At the bottom of the Layers Dialog Box Click on the Adjustment Layer Button and select Hue/Saturation. Set the Hue to 202 and the Saturation to 47. Also, check the Colorize Box.


Step 20
Now we need to make something like a sound wave. There are two ways of doing this as well.
- You can duplicate the swirl you made in step 3, and bring it to the top layer. Then apply a swirl about 10-20 times in order to make a thin lined swirl.
- You can do this in Illustrator using the Blend Tool. To do this you make two stroked circles. Then using the Blend Tool click on the inner circle. Then the outer circle. Then Double-click on the Blend Tool. Change the option to Specified Steps and set it to 10. After this you drag your progressing circles into your Amazon Galaxy design in Photoshop.


Step 21
Once you have this ‘progressive circle’ in Photoshop, press Ctrl+I to invert it to white. Then change the Blend Layer to Overlay, and Rasterize the layer. Then skew the layer to sit in the galaxy (refer to step 4).


Step 22
Now you’ve got to make some underwater plant life. Do this with the Pen Tool and a hard edge brush without changing the opacity. After you’ve got some plant life ready, convert it to a Smart Object. Then apply a gaussian blur, and you’ve got some foreground ‘out-of-focus’ going on, which is what you want.


Step 23
Above the layer with the white radial gradient, create a new layer. Put a nice texture on there set to Multiply. I created my own mock 3D texture using the Render Lighting Filter.
Create a new layer on top of the top layer. Then paint a big feathered circle in the middle of the galaxy (where most galaxies are brightest). Apply an Outer Glow set to Hard Mix. You just want a nice glow in the center.


Step 24
We need some fish. I found a good photo of a school of piranhas. Outline one at a time with the Pen Tool. Then Right-click on the path, and select Create Vector Mask. Now drag and drop the layer with your fish into the main Photoshop design document.


Step 25
Double-click on the layer with the fish layer to open layer styles. Apply Inner Shadow to the side of the fish opposite to the light from the galaxy. Set the Distance to 15, Choke to 0, and Size to 13 (Increasing the distance is important because it makes the shadow only hit the specific side). Also, applying an Inner Glow set to Hard Mix is nice as well.


Step 26
Repeat the previous steps on several fish swimming in different perspectives to increase the variety of your composition (refer to the final image to see how the fish fill the layout).
Then select all the different layers that involve the galaxy (bubbles, foamy spray and the ‘progressing circles’), and move them into a better position in the document. I didn’t like the galaxy just sitting plainly in the center. Composition is key!

Step 27
Now paint some swirls in Illustrator and use the Blend Tool again to merge them. Repeat Step 20 on these two swirls and move them into Photoshop. If you prefer, you can paint some swirls in Photoshop instead. Use the Pen Tool and Stroke them with a Hard Edge Brush selected.


Step 28
Now create some text in Illustrator with a cool font, and go to Effect > 3D > Extrude & Bevel. Select More Options, and change all the Rotations to 0%. Set the perspective to 160. Drop the Ambient Light to 25. Once rendered, drag and drop this into Photoshop.


Step 29
Throw a Stroke on the logo, a Drop Shadow, and an Outer Glow set to Hard Mix. Convert it to a Smart Object, apply a Gaussian Blur, and then paint on the Smart Object Layer with a large black feather to sharpen the inside of the text. Make it look blurred as if it is underwater.
Finally, you’ll want to paint some bubbles around the fish to show they are in action. Add a vignette with the Gradient Tool, and make sure your Hue/Saturation Adjustment Layer is the top layer.


Conclusion
There you go! To make this work you might want to observe some underwater photos. Notice how the bubbles move and how objects blur when underwater. That will help you with how to compose your art. I hope you enjoyed this tutorial as much as I did creating it!


